
How To Replace A Shower Head
A few days ago, I noticed my shower wasn’t giving the same pressure it used to. Thought maybe it was blocked or something, but after checking it properly, I figured it was time to replace the shower head. I did some research, found the easiest way to sort it, and had it changed in just a few minutes.
Now I’m sharing the exact method I used, straight from my own experience, so that you can replace your shower head too without any hassle. Whether it’s leaking, clogged or just outdated, this simple fix will have your shower working like new.
Tools and Materials You’ll Need
- New shower head
- Adjustable wrench or pliers
- Teflon tape (plumber’s tape)
- Old cloth or rag
- Step stool (if needed)
How to Replace a Shower Head: Step-by-Step
1. Turn Off the Water
You usually don’t need to shut off your home’s main water supply. Just make sure the shower taps are off. This helps avoid any unwanted sprays while you’re working.
2. Remove the Old Shower Head
Grab a cloth and wrap it around the connection where the shower head meets the arm. This prevents scratches. Then use a wrench or pliers to turn the old head counterclockwise. If it’s stuck, apply a bit more pressure, but be careful not to twist the shower arm itself.
3. Clean the Shower Arm
Use a damp cloth or rag to wipe away any dirt, debris, or leftover plumber’s tape from the shower arm threads. This gives the new shower head a clean surface to attach to and helps prevent leaks.
4. Apply Teflon Tape
Wrap plumber’s tape around the threads of the shower arm, about two to three times. This helps seal the connection and prevents leaks. Press it down gently with your fingers to make sure it sticks.
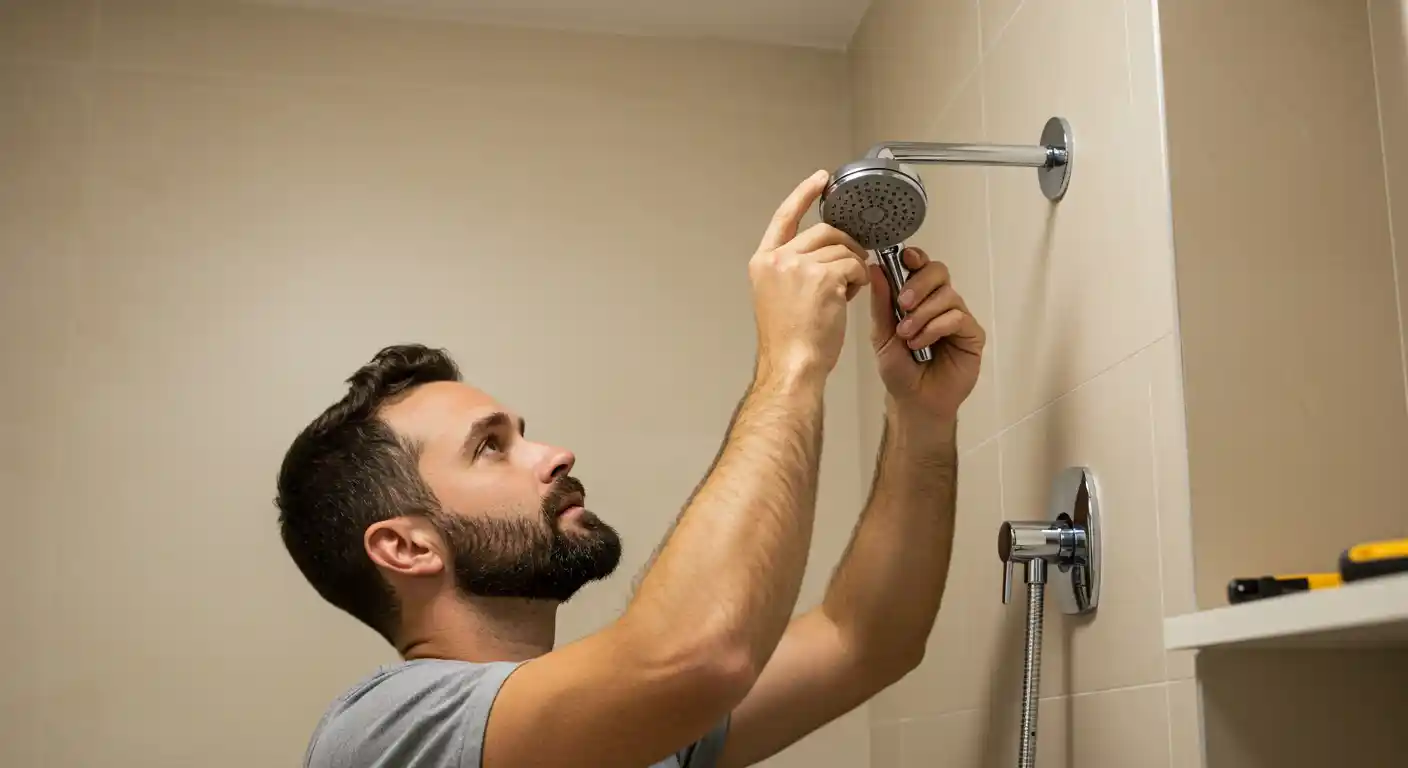
5. Install the New Shower Head
Now screw the new shower head onto the shower arm by hand. Turn it clockwise until it’s snug. Use the wrench to give it a gentle final tighten, but don’t overtighten – it could crack the fitting.
6. Test for Leaks
Turn on the shower and check carefully for any leaks around the connection. If you notice water dripping, turn off the water and gently tighten the shower head a little more. If the leak persists, you may need to remove the head, reapply the Teflon tape, and reinstall it.
For more on shower head repairs, check out our comprehensive guide on fixing a leaky shower head. With clear, step-by-step instructions and expert advice, you’ll learn how to easily fix leaks, improve water flow, and keep your shower in top condition
Conclusion
Replacing a shower head is one of those small jobs that can make a big difference in your daily routine. With just a few basic tools and a bit of care, you can improve your water pressure, stop leaks, and give your bathroom a quick refresh. Whether you’re dealing with an old, clogged unit or simply upgrading to a better one, following these steps can save time and effort.
So next time your shower feels a bit off, don’t ignore it. A quick replacement could be all it needs to get back to full flow.
And if it still feels tricky or you’re not confident doing it yourself, it’s always fine to call in a local plumber to get it sorted properly.

