

A leaking tap might seem like a small issue, but over time, that constant drip-drip can waste litres of water and bump up your water bill. Whether it’s a steady drip or just an occasional leak, it quickly becomes an annoying problem you can’t ignore.
Instead of waiting for it to get worse or paying for a plumber, you can sort it out yourself. With a few tools and the right steps, fixing a leaking tap becomes a quick DIY job.
This expert plumber guide will show you how to repair a leaking tap properly, whether it’s a traditional style or a mixer.
How to Fix a Leaking Bathroom Tap: Step-by-Step
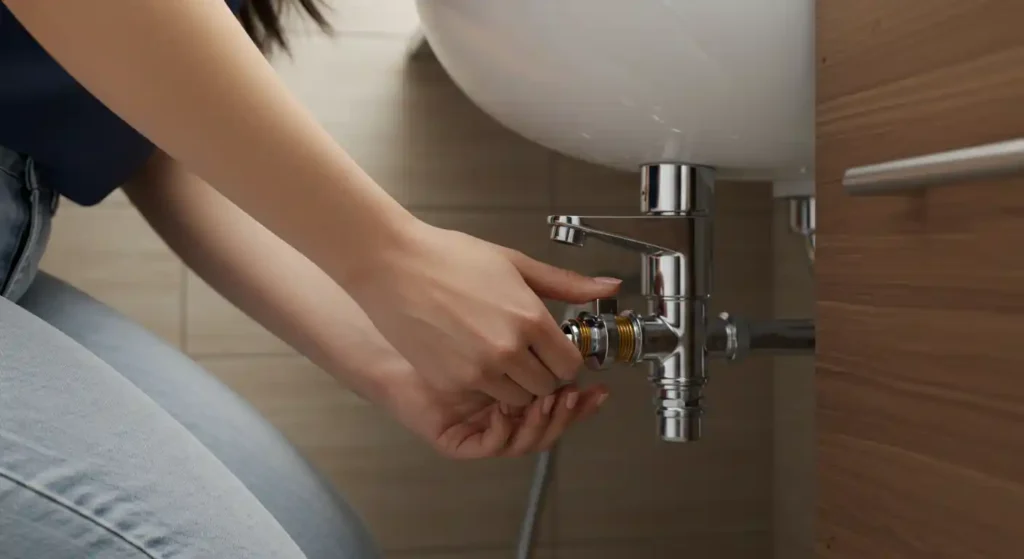
Step 1: Turn Off the Water Supply
Before you do anything, locate the isolation valve, which is typically located underneath the sink or near the tap. Turn it clockwise to shut off the water. If there’s no valve, you’ll need to turn off the mains water outside the house. Once it’s off, turn on the tap to let any leftover water drain out. This avoids mess and pressure build-up.
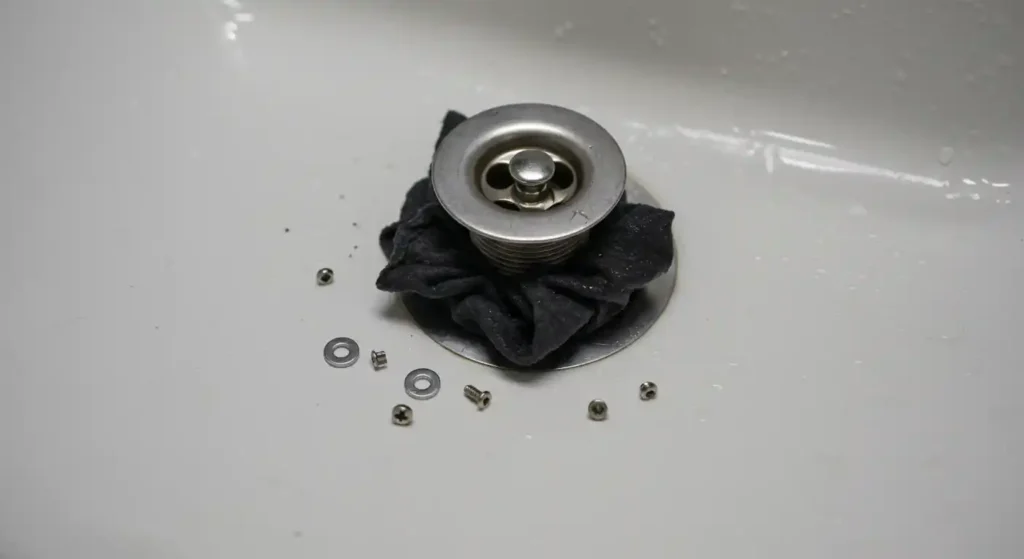
Step 2: Plug the Drain
This step may seem small, but it’s really important. Use a plug or a cloth to block the drain. You don’t want any small parts, like screws or washers, falling in. Losing a tiny piece can make a sound and turn a quick job into a trip to Bunnings.
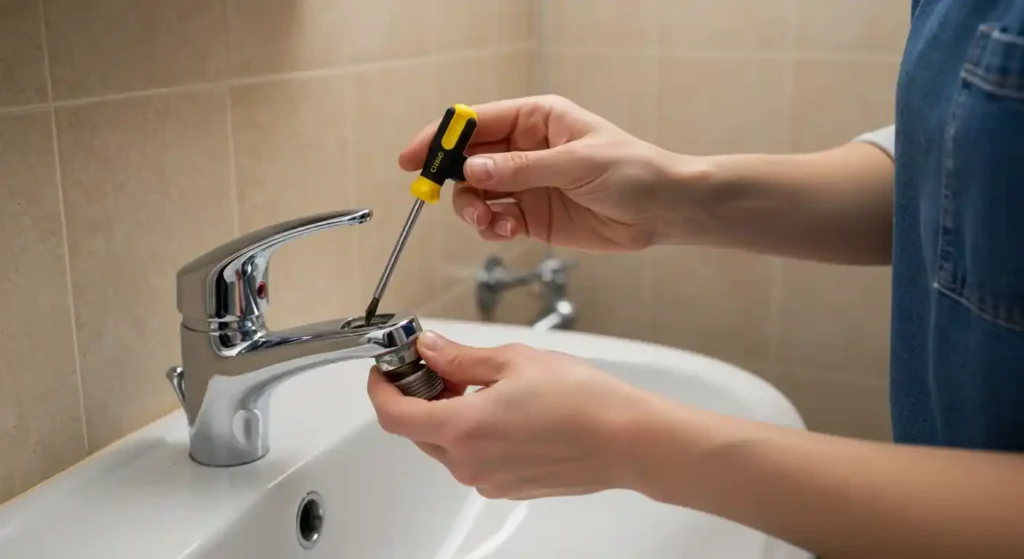
Step 3: Remove the Tap Handle
Use a flathead screwdriver to gently pop off the decorative cap on top of the tap. Underneath, you’ll find a screw holding the handle in place. Unscrew it and pull the handle off. If it’s old or stuck, wiggle it gently, don’t force it.
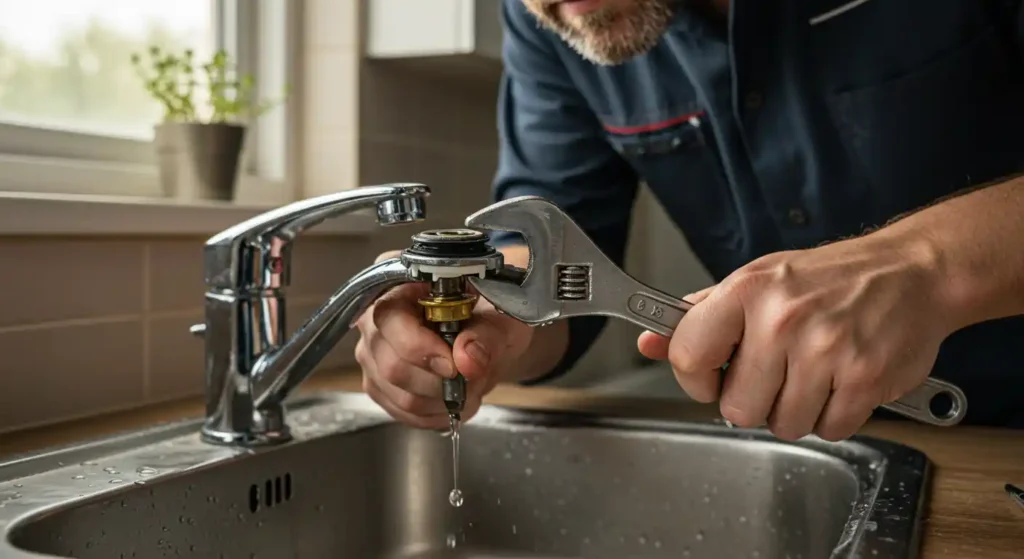
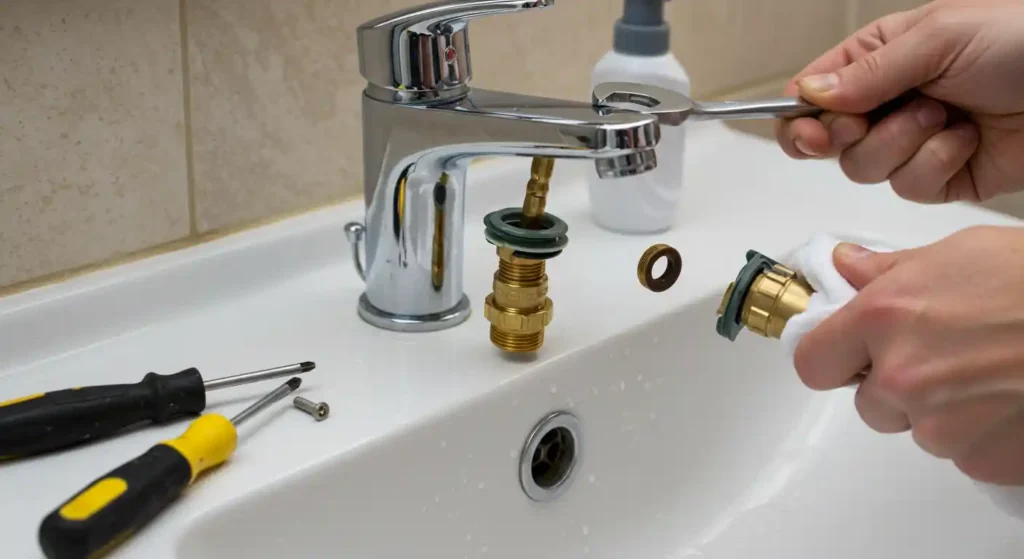
Step 4: Unscrew the Tap Bonnet
Next, use a wrench to loosen the bonnet nut. This part holds the tap mechanism in place. Once it’s loose, carefully remove the bonnet nut. You should then be able to lift out the tap mechanism. Inside, you’ll find the washer or cartridge, which could be the cause of the leak.
You can also explore a practical guide on how to fix a burst water pipe.
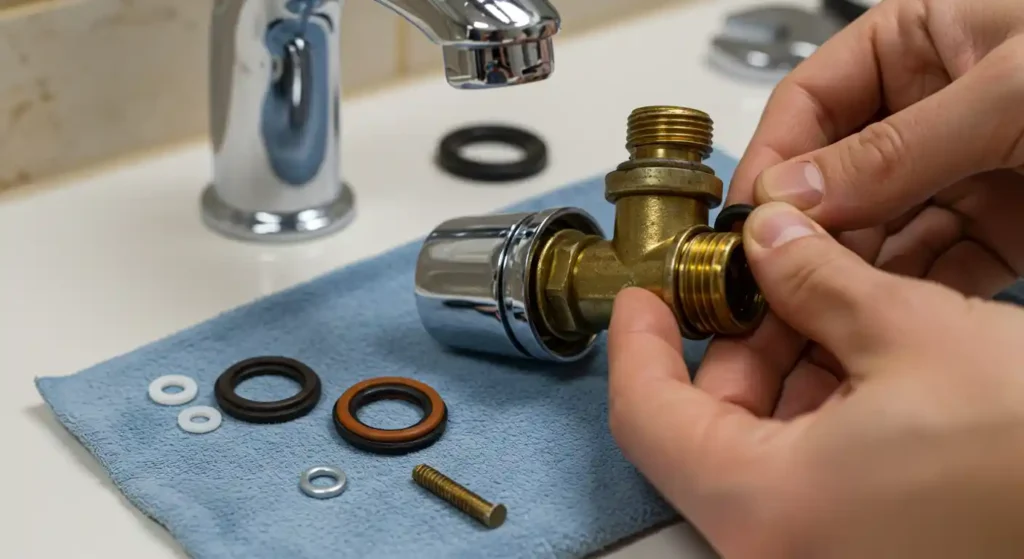
Step 5: Replace the Washer or O-Ring
Now that you’ve got the tap mechanism out, inspect the washer or O-ring. For traditional taps, the rubber washer often wears out, becomes cracked, or flattens over time. This is usually the main cause of the drip. Simply replace the old washer with a new one that matches the size. If you’re dealing with a mixer tap, you may need to replace the cartridge instead of the washer.
Step 6: Reassemble and Test
After replacing the washer or O-ring, put everything back together in reverse order. Secure the bonnet nut and reattach the tap handle. Turn the water supply back on and test the tap. If it’s no longer dripping, congratulations! You’ve successfully fixed your leaking tap.
How to Repair a Leaking Tap: Mixer Taps vs. Traditional Taps
Mixer taps often have ceramic cartridges, while older-style taps use rubber washers. The process is similar, but for mixer taps, you’ll likely need to replace the cartridge. These are easy to find at Bunnings, and they come in different sizes, so it’s a good idea to bring the old one with you when buying a new one.
If your sink is blocked, you can also read How to Fix a Blocked Sink.
When to Call a Professional
If you’ve tried all the above and the tap is still leaking, or if there’s water leaking from beneath the sink or the tap base, it might be time to call in a licensed plumber. Sometimes the issue isn’t the tap itself but the pipes or internal fittings.
Real Case: How Our Plumber in Glen Waverley Fixed a Dripping Tap
A few weeks ago, a homeowner in Glen Waverley reached out to us with an ongoing dripping tap issue in their ensuite bathroom. Frustrated by the constant drip, they had already attempted a DIY fix, but unfortunately, the leak persisted.
Understanding the importance of fixing it properly, they decided to call Pro-Action Plumbing for professional help. Our expert plumber arrived the same day, ready to assess the situation. After a quick inspection, it was clear that the root cause wasn’t just a worn washer. The valve seat had corroded over time, which was causing the washer to wear down faster than normal.
We explained the issue to the homeowner and got to work. Here’s what we did:
- Cleaned the Valve Seat: Using a special tool, we cleaned off the corrosion and smoothed out the seat. This step ensures a tight seal when the washer is reinstalled, preventing further leaks.
- Replaced the Washer and O-Ring: The old washer had been compromised due to the valve seat corrosion, so we replaced it with a new one. We also replaced the O-ring to ensure a perfect seal and prevent future leaks.
- Reassembled and Tested: Once everything was in place, we reassembled the tap and tested it to make sure the leak was completely gone.
The homeowner was happy to see the tap fixed. They even commented, “I wish I’d called you sooner!” proving just how much time, money, and frustration a professional plumber can save!
If you’re facing a similar issue with a dripping tap in Glen Waverley or the surrounding areas, don’t hesitate to reach out to our Plumber Glen Waverley team. Our experts are always ready to provide fast and reliable plumbing solutions.
Conclusion
Fixing a leaking tap may seem like a small task, but as you’ve learned, it’s essential to address it quickly to avoid wasting water and increasing your water bills. By following the simple steps outlined in this guide, you can repair a dripping tap yourself and restore your tap to its original condition.
If you’re ever unsure, it’s best to call in a professional. Proper maintenance makes sure your taps stay leak-free, keeping your home dry and your water bills in check.