
How to install a dishwasher
Many homeowners purchase dishwashers to enhance kitchen efficiency, yet often lack clear guidance on proper installation methods. Without accurate instructions, there’s a risk of improper setup, leading to potential water damage, electrical issues, or appliance malfunction.
As professional plumbers with extensive experience installing dishwashers across Melbourne and surrounding areas, we’ve encountered numerous cases where incorrect installations resulted in costly repairs. To assist homeowners in avoiding such pitfalls, we’ve compiled a comprehensive, step-by-step guide outlining proven techniques for safe and effective dishwasher installation.
This guide is designed to be easy to follow, even if you’re not a DIY expert. These steps ensure your dishwasher is set up correctly, saving you time, money, and potential headaches.
Tools and Materials Needed
Before you get started, gather the following tools and materials:
- Adjustable spanner
- Screwdriver set
- Spirit level
- Bucket or towels (for any water spills)
- Pipe thread tape
- Dishwasher installation kit (if not included with the machine)
1: Turn Off the Power and Water Supply
Safety comes first. Make sure the power to the dishwasher area is turned off at the switchboard. Also, shut off the water supply under the sink.
2: Remove the Old Dishwasher (If Applicable)
If you’re replacing a dishwasher:
- Disconnect the water hose and drain line.
- Unplug the power cord or disconnect the hard-wired connection.
- Unscrew any brackets securing the old unit.
- Gently slide it out and set it aside.
Use a towel to catch any water from the hoses.
3: Prepare the Space
Clean out the space and check that all your connections (water, power, and drain) are in good condition. If this is your first time installing a dishwasher, you may need a licensed plumber and electrician to help install the required connections.
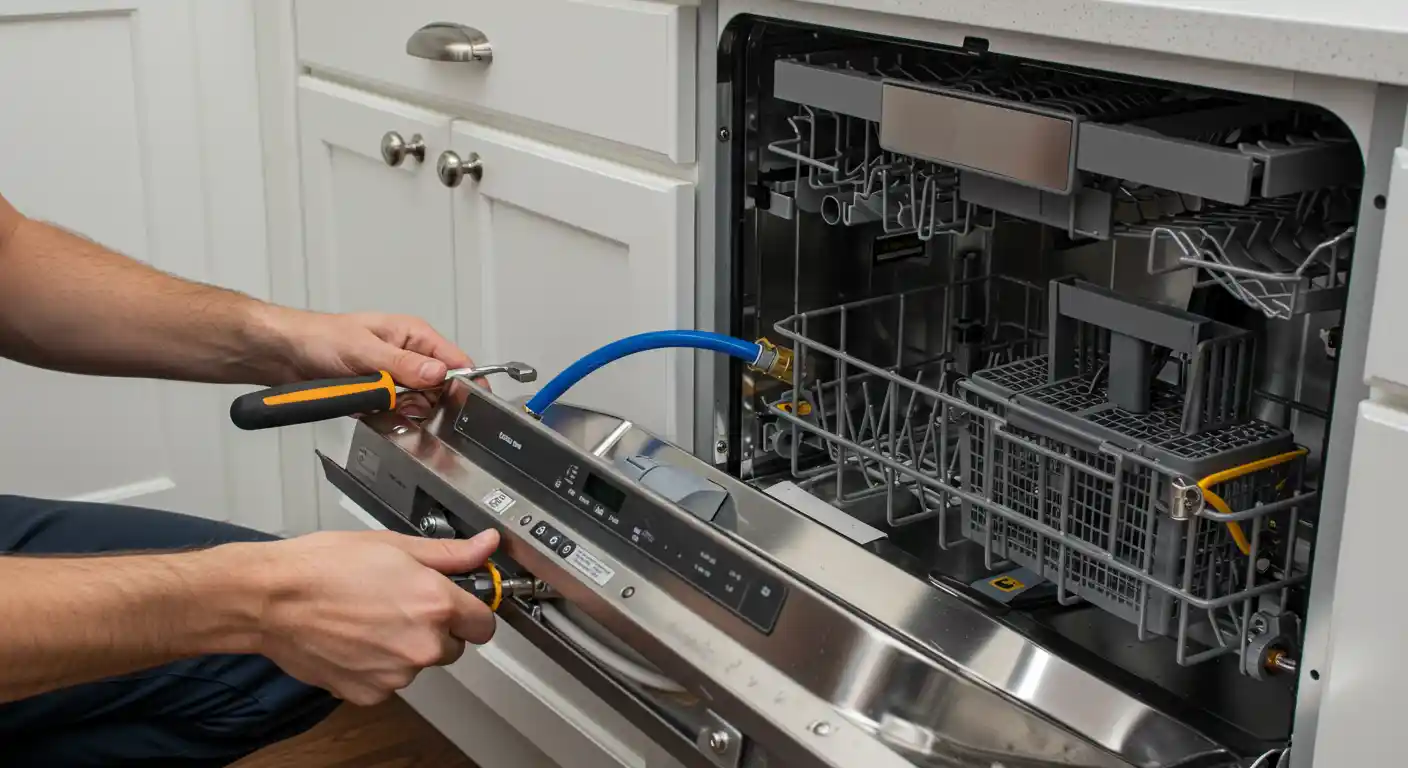
4: Position the Dishwasher
Carefully slide the new dishwasher into place, but don’t push it all the way in yet. You’ll need room to access the hoses and power.
Use the adjustable legs to ensure it’s level. A level unit prevents leaks and helps the dishwasher work properly.
5: Connect the Water Supply
Attach the water inlet hose to the tap under the sink or to the water connection point. Use pipe thread tape to avoid leaks, and make sure the connection is tight.
Check the manufacturer’s manual for specific instructions on the water inlet point.
6: Connect the Drain Hose
Connect the drain hose to the sink’s waste pipe or dishwasher spigot. The hose should loop upwards before connecting to the waste line to prevent backflow.
Secure the hose with clamps to keep it in place.
7: Connect the Power
Plug the dishwasher into a nearby power point. If it’s a hard-wired model, you’ll need a licensed electrician to connect it safely.
Never attempt electrical work yourself unless you are qualified.
8: Test the Installation
Turn on the water supply and check all hose connections for leaks. Once everything looks good, switch on the power and run a short cycle to test the unit.
Keep an eye on the area around the hoses while they run to spot any slow leaks.
9: Slide into Place and Secure
Once everything is working, gently push the dishwasher fully into its space. Use the provided mounting brackets to secure it to the benchtop or cabinet, preventing it from tipping forward.
Double-check that the unit remains level after final placement.
Conclusion
Installing a dishwasher can seem tricky at first, but it becomes much more manageable with the right tools and a clear step-by-step process. Taking the time to do it properly helps prevent leaks, electrical faults, and costly repairs. If you’re unsure at any stage, especially when it comes to plumbing work, it’s best to get help from a licensed professional plumber. A well-installed dishwasher runs more efficiently, lasts longer, and gives you fewer problems in the long run.

